Do you want to make a jewelry box? If yes, then we are here to provide you with a complete guide. Read till the end to come up with a beautiful hand-made jewelry box.
Jewelry boxes are a must for girls to save their jewelry pieces. They keep everything organized and therefore are loved by all girls. If you want to gift your friend or sister a jewelry box, then a box made by you will touch the heart of the receiver. It will not only be a gift but a labor of love from your side. Also, if you want a jewelry box for yourself, you can make it at home. All you need to do is to follow a few steps. Wondering what are those steps? Here you go!
Materials Required to Make a Jewelry Box
- Wood Glue
- Wipe-on Polyurethane
- Sandpaper
- Hardwood
- Baltic Birch Plywood
- Plywood or Hardwood
The table shows the dimensions of wood and paper required to make the jewelry box accurately.
| Material | Dimensions |
| Sandpaper | 150-grit |
| Hardwood | 0.75″ x 6″ x 20″ |
| Baltic Birch Plywood | 0.25″ x 12″ x 19″ |
| Plywood or Hardwood | 0.5″ x 4.5″ x 32″ |
Tools Required to Make a Jewelry Box
- Measuring tape to measure the dimensions
- Eye and ear protection stuff to protect yourself while cutting wood
- Quick-Grip clamps to hold the wood pieces
- Miter saw for cutting wood
- Circular saw or table saw
- Orbital sander
- Packing tape for dry fitting
The Complete Procedure to Make a Jewelry Box
Step 1: Make The Top and Bottom Side of the Jewelry Box
- Take a piece of 3/4″ hardwood and cut it into the required dimensions i.e., 6″ x 20″.
- Use a table saw for making a groove cut on the two longer sides of the wooden board. The groove should have a depth of ¼ inch and a width of ½ inch.
- Take a miter saw and cut the board into two pieces each of 9 inches.
- On the end of each piece, make two groove cuts with the help of a table saw. These grooves should have a depth of ¼ inch and a width of ½ inch.
Step 2: Wood Cutting for The Box
- Take ½ inch plywood or hardwood and use a table saw to cut a 32inches piece from it.
- Rip this board to 4.5inches.
Step 3: Make the Sides of The Jewelry Box
- At six inches, cut the board making sure the angle is 45 degrees at both ends. Use the Miter saw for this purpose.
- The board you have cut will now become a template for you. Place it on the wood and cut one more piece same as the previous one.
Step 4: Make The Front And Backside of The Box
- For the front board, cut a nine-inch piece of the board using a miter saw. Keep the angles at both ends equal to 45 degrees.
- Use the board you have just cut as a template and cut the same one for the back of the jewelry box.
Step 5: Place The Boards Together and Dry Fit The Box
- Take the front side of the box and place it flat on the table. Make sure that the 45-degrees angle faces downwards.
- Now take the left board and place it with the front one, end to end correspondence between the boards should be achieved while making this placement.
- Next, you need to take the backboard and place it next to the left board.
- Use the packing tape and tape all the boards you have placed together.
- Now place the bottom board and place it such that its groove side faces upward.
- Then fix the tapped box assembly in this groove.
- Dry fit the bottom side with front and back using the tape.
Step 6: Stick the Sides Together with a Glue
- Take the assembly again off the bottom board. Remove the tape you applied on the right side. Keep the other sides tapped so that the sides remain in place.
- Apply wood glue to the grove of the bottom board and 45-degree angles.
- Now again put the box assembly on the bottom board. Use a clamp that holds the boards tightly in place and secures the connection.
- Now it’s time to glue the right board. Apply wood glue to its angles and fit it with the assembled boards. Use clamps again to secure the connections.
Step 7: Make the Wooden Tray
- From ¼ inch hardwood, rip the two pieces each having dimensions 2in x 16in.
- Take a table saw for making a grove cut (Depth:1/8-inch, Width: ¼ inch) on the longer side of the boards.
- For the back and front sides, you need to cut two pieces of length 7-3/4 in.
- At 4-5/8 inches, cut two pieces for the sides.
- Also cut a board for partition at 1-3/4-in x 4-5/80-in.
- Take the ¼-in plywood to cut a bottom at 4-5/8in x 7-5/8-in.
- Cut the grooves on the ends of the sideboards and in middle.
- Glue all the sides together to make the tray ready. Use the same procedure you used for the box.
- For tray cleats. Cut two pieces having dimensions of ¼ x 1¾-in x 5-in.
- Flush these cleats with the bottom and apply the glue.
Step 8: Final Steps
- Use an orbital sander to sand all the parts.
- Use the wipe-on polyurethane to finish.
Is it still difficult for you to make a jewelry box? No worries! Here we have some recommendations for you from getnamenecklace products.
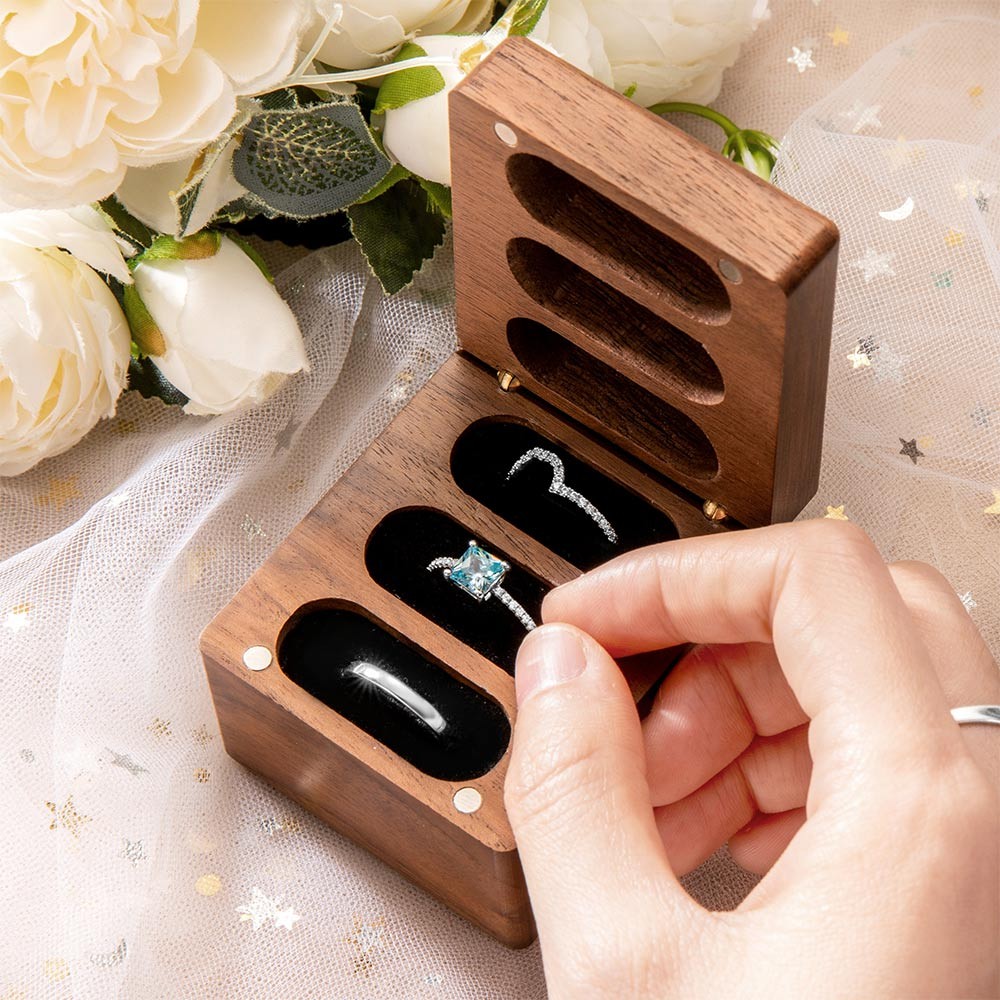
- A triple flip walnut ring box is a perfect box for your rigs. The material of the box is walnut. And the best part? The bottom has a suede velvet lining. The inside portion of the box is magnetic which keeps the rings firmly in place. There are a total of 3 ring slots in this box and therefore, it is perfect for storing your wedding and engagement rings.
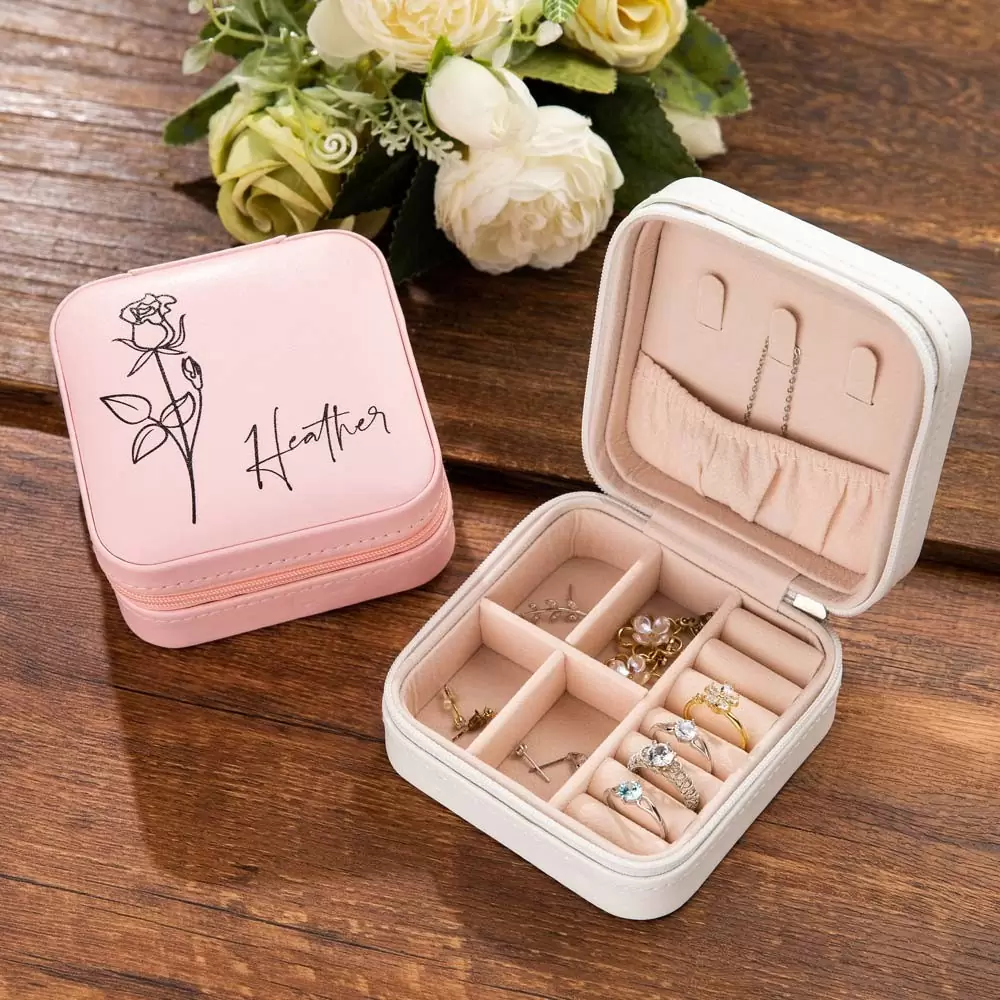
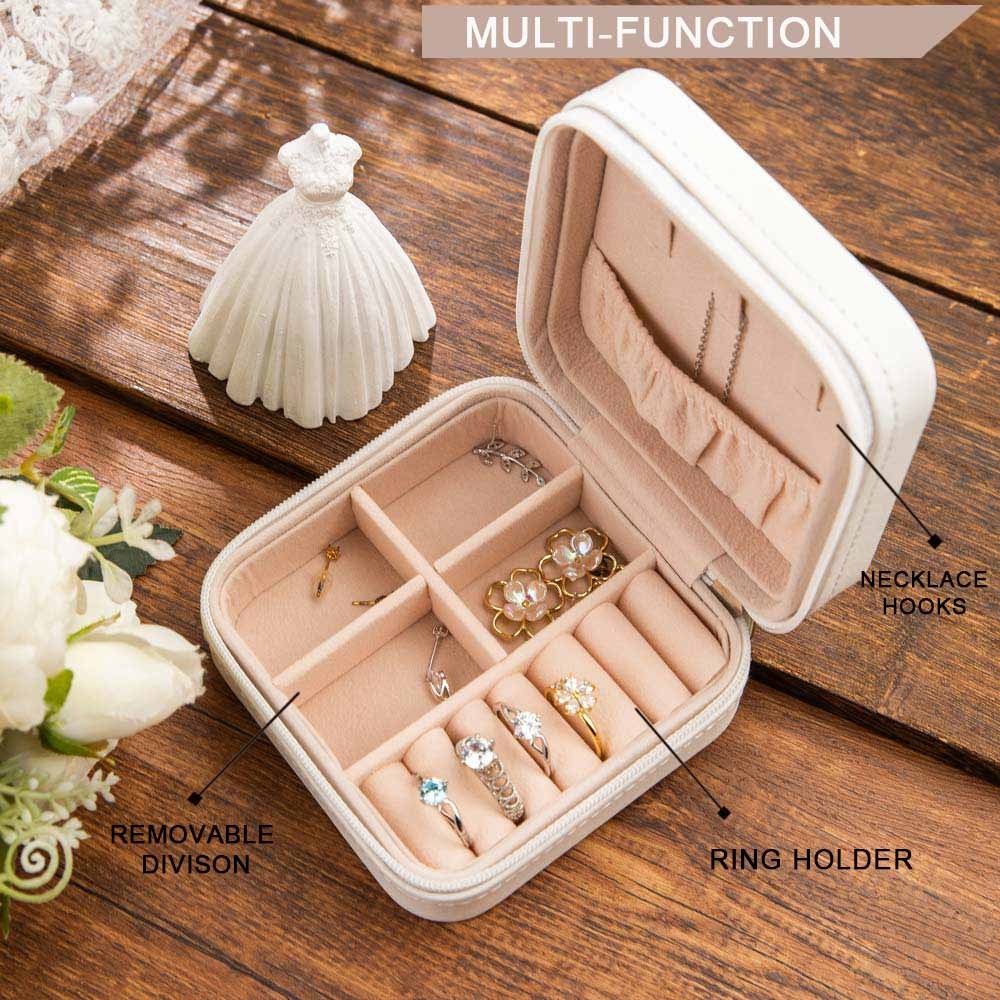
- A Birth flower jewelry travel case is a great choice for you if you are a traveler as the small size will easily fit into your suitcase. Get your birth flower customized on this jewelry case so that it will belong particularly to you. This box is a good choice for keeping your rings, bracelets, and other jewelry pieces safe.
Conclusion
Making a jewelry box is super easy if you follow the steps we have mentioned here. Still, if you want to buy a jewelry box, visit the getnamenecklace website and place your order.


Excellent website. Plenty of helpful info here. I am sending it to a few buddies ans also sharing in delicious. And naturally, thanks on your effort!