As winter blankets the world in a shimmering coat of snow, the time-honored tradition of building a snowman takes center stage.
In this guide, we embark on a journey to create not just any snowman but a masterpiece that will become a cherished memory for your kids.
Let’s delve into the intricacies of this timeless activity, exploring the nuances of snow selection, safety measures, material gathering, step-by-step building techniques, creative decorations, themed activities, and ways to preserve the magic.
Preparations For Crafting A Good Snowman For Kids
Choosing the Right Snow
The foundation of every great snowman lies in the snow itself. To ensure a sturdy and cooperative medium for your creation, seek out wet, packable snow.
Engage your kids in the process of selecting the ideal snow by teaching them to recognize its packability.
A simple test of forming a small snowball that holds its shape serves as a delightful introduction to the art of snowman building.
Safety First
Before the fun begins, it’s essential to prioritize safety. Dressing warmly is not just a matter of comfort but a crucial aspect of enjoying the snowy outdoors.
Envelop your little builders in layers, complete with waterproof gloves and insulated boots to shield against the winter chill.
For the younger ones, establishing clear boundaries and active supervision ensure a safe and enjoyable experience for all.
Gathering Materials
Armed with the right snow and attire, it’s time to gather the materials that will breathe life into your snowman.
Beyond the traditional gloves, scarves, buttons, carrots, and sticks, consider encouraging creativity with non-traditional accessories.
Imagine your snowman adorned with funky hats, stylish sunglasses, or even a colorful wig—this is the moment to let your imagination soar.
Step-by-Step Guide On How to Make a Snowman For Kids
From rolling the base to crafting the head, each step is a canvas for creativity and outdoor joy.
Let’s delve into the intricacies of snowman building, where the simplest of ingredients – snow, and imagination – converge to create a winter masterpiece.
Step 1: Rolling the Base – Techniques for rolling and sizing the base snowball.
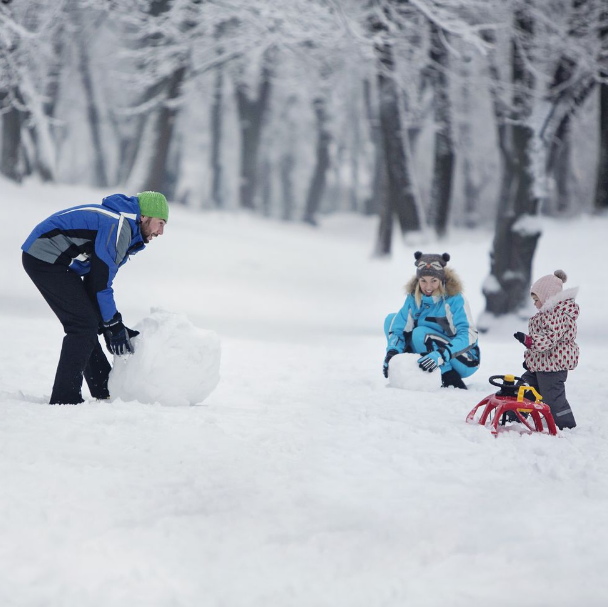
The journey to a perfect snowman begins with the rolling of a well-formed base. Share the techniques of effective rolling with your kids, emphasizing the importance of size for the desired snowman height. This initial step sets the stage for the magic to unfold.
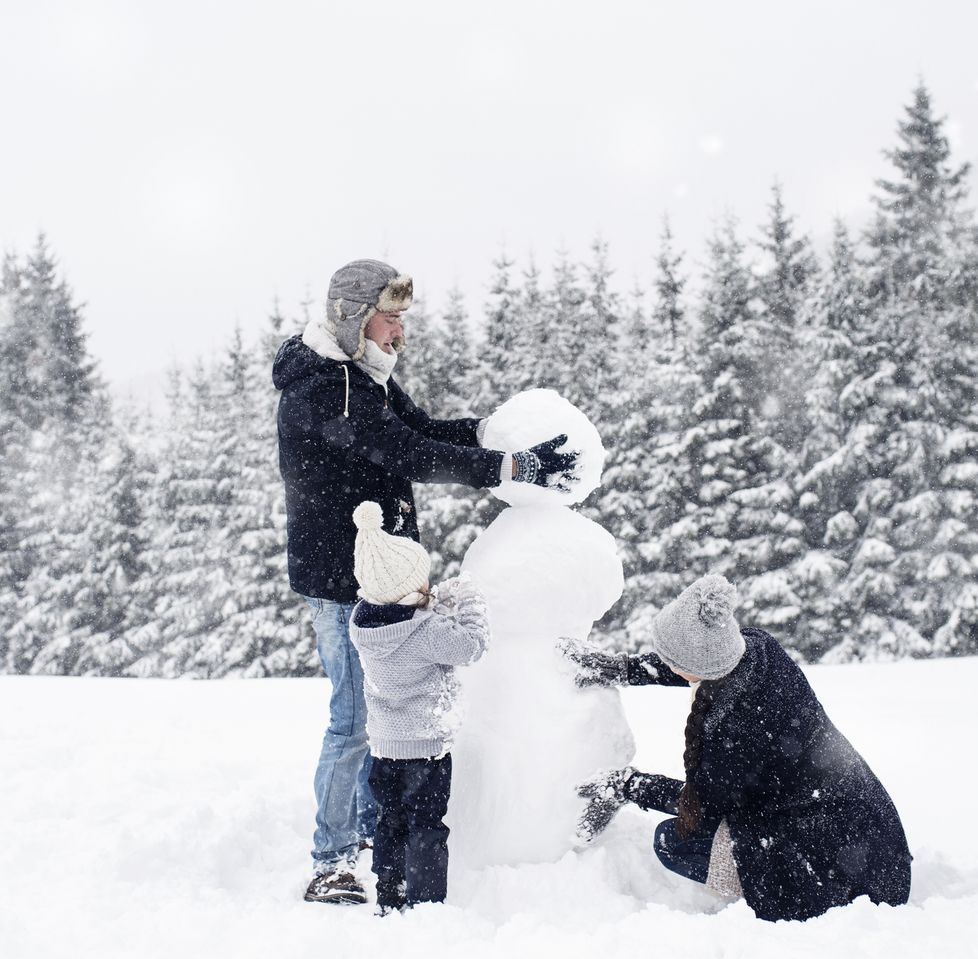
Step 2: Forming the Body – Instructions for adding the second layer.
With the base in place, roll a larger snowball to create the body. Guide your little builders in securing it atop the base, ensuring stability and balance.
The formation of the body is a pivotal moment, transforming a mound of snow into the canvas for your snowman’s persona.
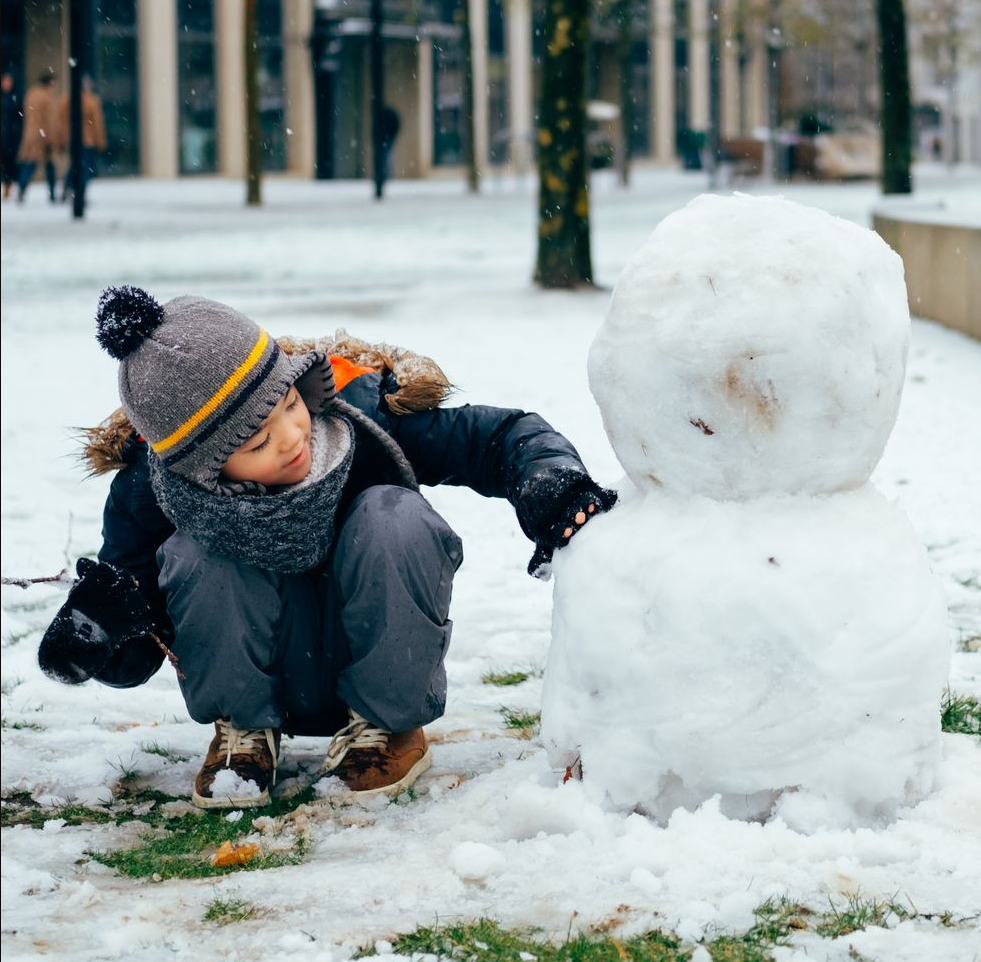
Step 3: Crafting the Head – Tips for making and placing the head.
The head is where the personality of your snowman takes shape. Work with your kids to craft a smaller snowball, delicately placing it atop the body.
This step is the gateway to personalization, as each snowman begins to exude its unique charm.
Step 4: Smoothing and Shaping – How to even out and shape the snowman.
Achieving a visually appealing snowman requires attention to detail. Smooth out rough edges and shape your creation to perfection.
This meticulous step adds the finishing touches, ensuring your snowman stands out as a winter masterpiece.
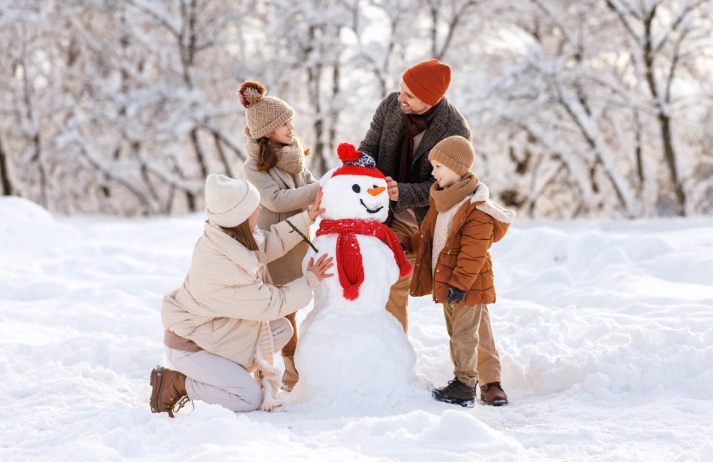
Decorating Your Snowman
Now that you’ve rolled, stacked, and shaped your snowman, it’s time for the most delightful part—decorating!
This is where your snowman transforms from a simple snowy structure into a unique and whimsical character.
Encourage your kids to let their creativity run wild as they personalize their snowman, giving it a face and adding arms, clothing, and other accessories.
1. Crafting a Face
The face is the window to your snowman’s personality. Utilize classic materials like carrots, coal, or stones to create expressive facial features. Here are some ideas:
- Carrot Nose: Insert a vibrant orange carrot into the center of the snowman’s head, giving it a classic and friendly look.
- Coal Eyes and Mouth: For a traditional look, use pieces of coal or dark stones to craft eyes and a smiling mouth. Arrange them creatively to convey different expressions.
- Stones for Eyes and Buttons: If coal isn’t available, smooth stones or pebbles can make charming eyes. Place them strategically along the snowman’s midsection as buttons.
- Accessories for Personality: Consider adding accessories like glasses, hats, or even a pipe for a distinguished snowman look.
2. Adding Arms and Clothing
Arms and clothing not only add character but also contribute to the overall aesthetic of your snowman. Encourage your kids to think outside the scarf-and-stick arms tradition:
- Stick Arms: Traditional but timeless, find sturdy sticks to serve as arms. Position them securely on either side of the snowman’s body.
- Cloth Scarves: A colorful scarf around your snowman’s neck adds a pop of color. Raid your wardrobe for old scarves, or get creative and use strips of fabric.
- Button Accessories: Attach buttons down the snowman’s front to simulate clothing. Varying sizes and colors can create a unique and charming effect.
- Winter Hats and Accessories: Elevate your snowman’s style with a winter hat, mittens, or a fashionable bowtie. Raid your winter gear, or get crafty with fabric remnants.
3. Encouraging Creativity
The key to a memorable snowman is encouraging your kids to let their imaginations soar. Here are some ways to foster creativity:
- Unique Facial Expressions: Challenge your kids to experiment with different facial expressions. How about a winking snowman or one with a surprised look?
- Themed Accessories: Tailor your snowman’s accessories to a specific theme. Maybe your snowman is an explorer with a makeshift backpack, or perhaps it’s a snow princess with a tiara and cape.
- Use of Color: Introduce a burst of color into your snowman’s design. Colored scarves, buttons, or even food coloring mixed with water for a temporary tint can make your snowman stand out.
- Personal Touches: Encourage your kids to incorporate personal items into the snowman’s design, such as a small toy or a representation of a favorite hobby.
Snowman-themed Activities
Building a snowman is just the beginning of the winter wonder. Extend the joy with these delightful snowman-themed activities that will keep the excitement alive and create lasting memories for your kids.
1. Snowman Treasure Hunt
Transform your outdoor space into a snowy adventure with a thrilling Snowman Treasure Hunt!
Craft a series of clever clues related to snowmen and strategically hide them amidst the winter landscape – under snow-covered bushes, peeking out from behind frost-kissed trees, or tucked into the pockets of your snowman creation.
2. Snowman Story-Telling
Ignite the imaginations of your little storytellers with a Snowman Story-Telling session that transports them to a magical world of snowmen and winter wonder.
Gather in a cozy circle and take turns adding to a collaborative story. Picture a world where snowmen come to life, embark on grand adventures, and encounter whimsical characters.
3. Snowman Bingo: A Frosty Twist on a Classic Game
Breathe new life into a classic game with Snowman Bingo, a winter-themed edition that guarantees hours of frosty fun.
Design Bingo cards adorned with charming snowman-related images or words, such as scarves, carrot noses, and top hats. As the excitement builds, use snowman figurines or cut-out snowman shapes as markers.
4. Frozen Limbo
Put a winter spin on a classic party game with Frozen Limbo, where kids can bend, shimmy, and dance under a “snowman’s” outstretched arm.
Set up a limbo stick in your snow-covered yard and encourage the children to imagine themselves gracefully gliding beneath a snowman’s arm.
5. Snowman Craft Station
Transform your outdoor space into a haven of creativity with a Snowman Craft Station, where young artists can bring their imaginative snowman visions to life.
Set up a table stocked with an array of craft supplies, including colored paper, glue, markers, buttons, and more. Encourage the kids to unleash their creativity as they design and craft their unique snowman masterpieces.
Preserving the Memory
Capture the magic by taking photographs of your kids with their snowmen. Freeze these moments in time, creating memories that will warm your hearts long after the snow has melted.
Elevate the experience by encouraging your kids to create snowman-themed crafts or drawings, fostering creativity even as the winter wonderland transforms.
Safety and Clean-Up
As you revel in the joy of crafting a winter masterpiece, it’s crucial to balance the fun with a sense of responsibility.
When engaging in snowman building, particularly with younger participants, it’s important to be mindful of the environment and safety considerations, ensuring a wholesome and respectful winter experience.
1. Cleaning Up Non-Biodegradable Materials
After the snowman has been adorned with all the creative accessories, it’s essential to remind everyone about the importance of cleaning up non-biodegradable materials.
Encourage the use of eco-friendly decorations, such as natural items or items that can be easily recycled.
Avoid materials like plastic or other non-biodegradable substances that could harm the environment when the snowman eventually melts.
A quick scan of the snowman’s attire before disassembling it ensures that any non-biodegradable items are properly collected and disposed of, leaving nature untouched.
2. Safety Tips for Melting Snowmen
As temperatures rise and the sun works its magic, the inevitable melting of your snowman begins. Ensure safety during this phase with these tips:
- Supervision: If the snowman is located in an area where it may pose a hazard as it melts, especially for younger children, it’s crucial to supervise the melting process. This prevents any potential accidents and ensures a controlled and safe clean-up.
- Disassembly with Care: When it’s time to bid farewell to your snowman, disassemble it with care. Start from the top and work your way down, avoiding any sudden collapses that could catch little ones off guard.
- Watch for Sharp Objects: Keep an eye out for any objects or accessories that may become exposed as the snowman melts. Sharp items, such as sticks or pieces of material, should be removed to prevent injuries.
- Educational Opportunity: Use the melting process as an educational opportunity. Explain to the kids the science behind melting snowmen, discussing the role of temperature and sunlight.
Conclusion
The art of snowman building emerges as a timeless and joyful winter tradition, offering a plethora of benefits for children beyond the simple act of creating a frosty friend.
Beyond the laughter and creativity that accompanies the process, building a snowman serves as a gateway to the outdoors, encouraging kids to embrace the winter wonderland and revel in the beauty of nature’s transformation.
As they roll, stack, and decorate, children not only engage in a delightful physical activity but also tap into the boundless realms of their imagination.
The snowman becomes a vessel for self-expression and play, fostering a sense of wonder and curiosity.
Through this cherished winter pastime, children learn to appreciate the magic of the season, fostering a love for the outdoors and igniting the spark of imagination that lasts far beyond the fleeting snowfall.