Thinking about diving into embroidery but unsure where to start? Don’t worry, it’s easier than you might think! This guide is your friendly companion, filled with beginner tips and tricks to get you stitching in no time.
Whether you’re picking up a needle for the first time or seeking to refine your skills, we’ve got you covered. With just a piece of fabric, some thread, and a needle, you’re ready to embark on a creative journey.
Embrace the joy of DIY and discover a fulfilling hobby that not only brings personal satisfaction but could also blossom into a rewarding income source. Let’s embark on this creative adventure together!
Is embroidery easy for beginners?
Absolutely! If you’re new to hand embroidery, don’t worry. This guide is here to gently lead you through all the basics you need to begin your embroidery journey.
Embroidery aims to create something beautiful, and surprisingly, you don’t need complex skills to achieve stunning results. With just a few basic stitches, you can produce gorgeous, handcrafted pieces. This craft is not only enjoyable but also straightforward to pick up.
The first steps are getting to know the essential materials, and then you’ll learn how to prepare your fabric, thread, and needle for stitching. From there, we’ll show you how to transfer a design onto your fabric, setting the stage for you to create your masterpiece.
In this guide, we’ll cover everything from choosing your embroidery supplies to different techniques for transferring patterns onto fabric. We’ll also go over how to thread a needle properly, start and finish your embroidery without knots, and introduce the simplest stitches for beginners.
What is the easiest embroidery stitch?
The easiest embroidery stitch is the running stitch. The straight or running stitch is the basic stitch in hand-sewing and embroidery, on which all other forms of sewing are based. The stitch is worked by passing the needle in and out of the fabric at a regular distance. All other stitches are created by varying the straight stitch in length, spacing, and direction.
The running stitch is one of the easiest and most common stitches in embroidery and is often used for hand-stitching seams. Put simply, it is an evenly spaced up-and-down hand stitch that anyone can do. Even beginners can learn how to do a running stitch!
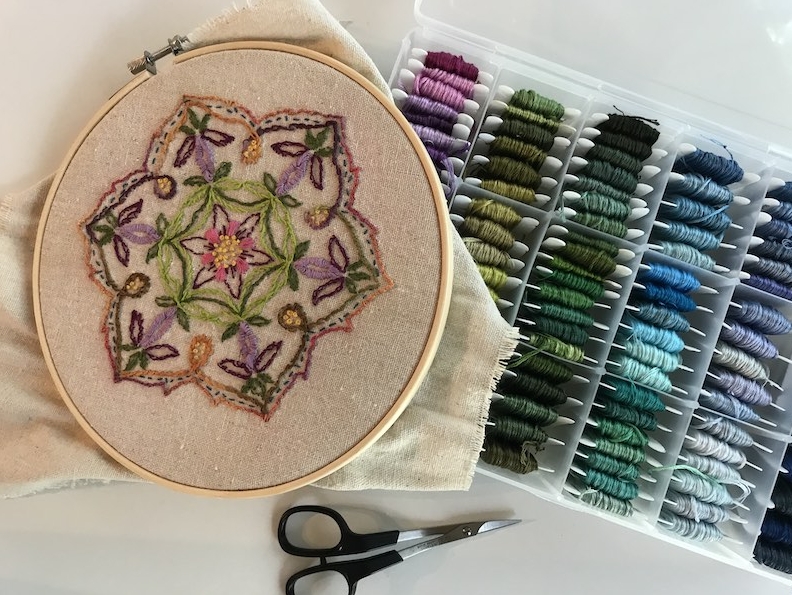
Embroidery is a craft that is about the journey, not necessarily the destination. Don’t worry about your work being perfect – spoiler alert, it never will be. Shoot for good and have a good time, and you’ll create something cute every time. You can refer back to your finished sampler for future projects or hang it in your craft space for a spark of joy.
What are the 6 basic embroidery stitches?
Embroidery is the process of embellishing the surface of textiles with decorative stitching using colorful threads often made of silk or cotton. An embroidery stitch is the smallest unit in embroidery. Stitches are always executed in the same way uniformly in a series to form a figure. Read on to learn the basic stitches you probably do not know.
1. Running stitch
Running stitch is a basic embroidery stitch worked in an up-and-down motion. It is the basis of many other hand stitches and embroidery stitches so it is important to master before moving on to more advanced stitches. The running stitches and the gaps between them can be even or uneven in length depending on the seam or embroidery effect you are creating.
2. Backstitch
Blackstitch is a class of embroidery and sewing stitches in which individual stitches are made backward to the general direction of sewing. It is one of the most common embroidery stitches out there. The backstitch is excellent for securing seams. It is a super-strong hand-stitch that can replace machine stitching when required. It is much stronger than the regular Running Stitch, though it uses more thread.
3. Split stitch
The split stitch is splitting the threads of your embroidery floss as you create a stitch. If you are looking for a more organic outline stitch for your embroidery, then split stitch is a great stitch. The only difference between the split stitch and backstitch is the texture because it has more fluid movement, similar to the look of a stem stitch. It works best with six-strand embroidery floss, working with an even number of strands. It is a very decorative stitch.
4. Stem stitch
The stem stitch is a traditional outline stitch in hand embroidery. It has a twisted look, which gives this stitch a flowing texture, different from that of the backstitch or split stitch. It is often used for stems in simple embroidery flowers. The stem stitch is used for the leaves and stem of the tulip flower.
5. Satin stitch
The satin stitch is a series of straight stitches placed next to each other. It is used as an embroidery fill stitch for small shapes on an embroidery project and gives a silky, satin look to the piece. Satin stitch is a popular decorative stitching technique used in textiles, particularly in embroidery and sewing.
6. French stitch
The French stitch is a vulnerable and enduring bookbinding technique that has long captured the essence of artistry and craftsmanship. It is a method that transcends the mere act of binding pages together, it weaves a tapestry of tradition, aesthetics, and durability.
The French stitch is characterized by exposed stitching that adorns the spine; this binding approach creates a secure and decorative binding for books, journals, and other paper-based projects.
How to Embroider for Beginners
Naturally, you will need to gather some essential supplies before you start to embroider. Fortunately, you do not need so much to begin. You only require fabric, thread, needles, a hoop, and tracing supplies.
Besides, when you’re learning how to embroider, there are some basic tips that you will need to be successful. This includes how to separate embroidery floss and how to start and stop your thread. You have to work your way through these top tips and you will be well on your way.
Beginner Patterns For Hand Embroidery
There are beginner patterns that can help you learn. You will have to choose a pattern of your own. Regardless, you can rather go simple. However, if you have previous experiences, or you are feeling adventurous, you can research more loads to choose from. Once you find a pattern you like, you will need to transfer the pattern to your fabric.
How To Use An Embroidery Hoop
Using an embroidery hoop is fun and easy. You just have to choose a hoop that is smaller than your fabric. When you are doing it, place your fabric over the inner hoop and press the outer hoop over the fabric about a half down.
You then tighten the screw and press the outer hoop down the remainder of the way. Pull the fabric on all sides, evenly until the fabric is drum tight. Finally, tighten the screw completely.
Finishing Up The Embroidery
Last but not least, you will always have to furnish your embroidery when finishing it. You can frame it in the hoop. Leaving your embroidery in the hoop is a lovely way to frame it. If you want it to look professional, finish off the back by stitching a piece of felt onto it.
You also can mount it on a canvas if you do not like the look of it being in a hoop. And if you have embroidered it on clothing, make sure you iron on a backing to protect the back of your work to keep it from irritating your skin.
Final Touches In Embroidery.
Washing your embroidery and line drying it is going to make it last the longest. Your best bet is hand washing the embroidery in cold water with mild detergent because handmade embroidery can be very delicate. If you are concerned with running dyes in that the dye in some embroidery floss can run, keep rinsing over and over. Do not let it dry.
Conclusion
You completed your first embroidery project of course but if it felt a bit clunky, that’s normal. It will get easier and smoother the more you practice. Even after years of doing embroidery work, you will still be learning new things.
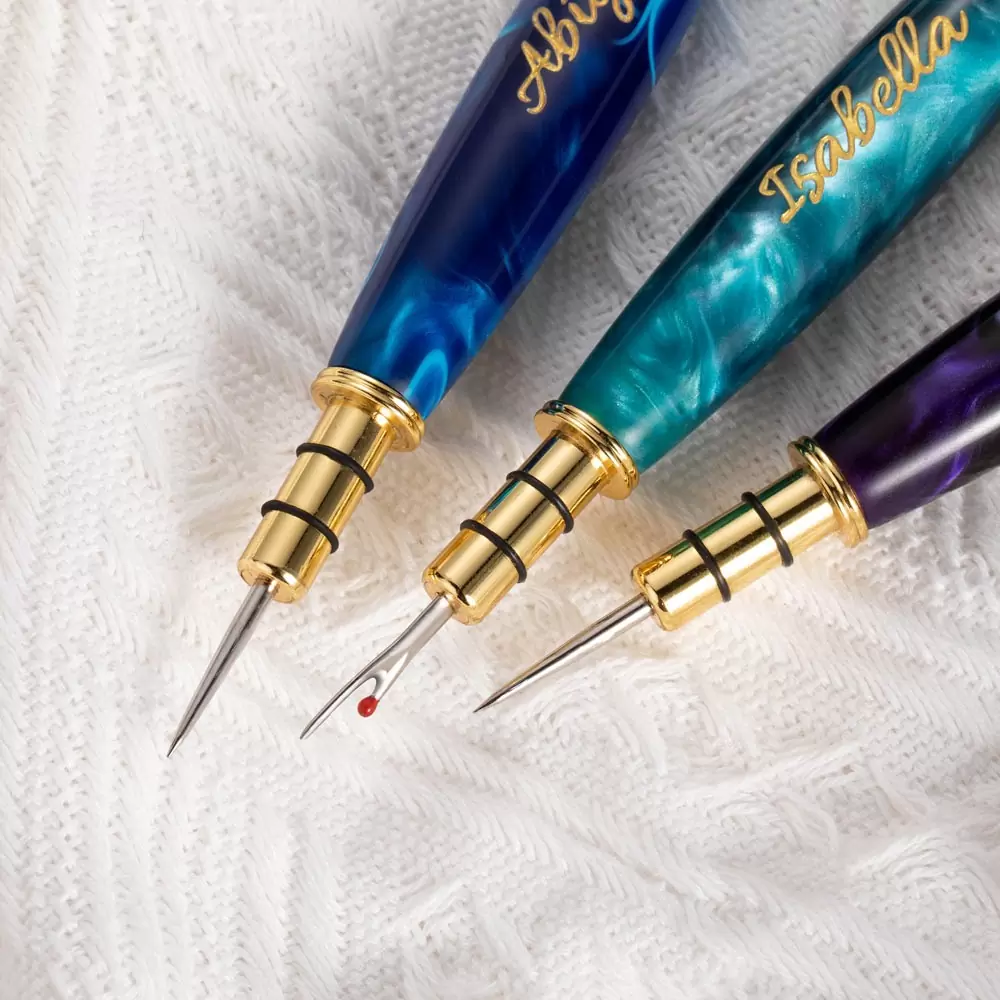
All said and done, you can draw your inspiration from these well-designed embroidery crafts. A sewing auxiliary stitch removal tool is just one. It has a fine-pointed awl and stitch ripper, which can prevent the fabric from shifting when sewing the end seams, and use the sharp-pointed tip to grasp and adjust the spread.
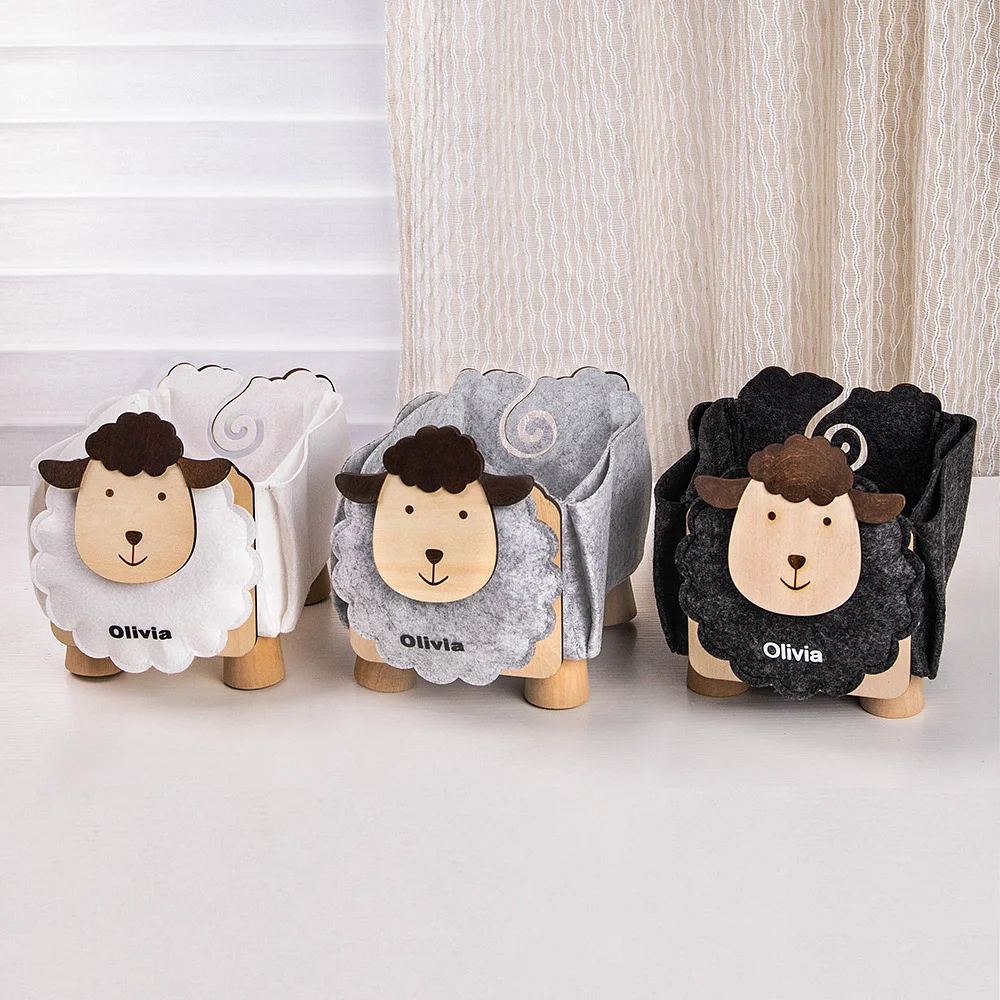
A personalized sheep storage box is a good take too. It is a handy storage for knitting, crocheting, and sewing projects. This sheep-shaped storage box is a perfect gift for people who love arts and crafts. Foldable and easy to assemble, the sheep storage box takes up no space when not used. The unique design adds more fun to your crafting projects.