One of the most popular Christmas traditions is decorating the Christmas tree. The activity brings together family members, helping you bond and enjoy the festivities. But what is the correct order to do it? And how do you hang those ornaments, so they look their best?
In this blog post, we will answer your questions about decorating your Christmas tree!
1. Place The Christmas Tree And Fluff The Branches
The first step in decorating your tree is to place it in the spot where you want it, then fluff out all of its branches. This will give your tree a fuller, more natural look and make it easier to hang decorations. Be sure to leave enough room for potential presents underneath!
2. Put The Lights On The Tree
Next, it’s time to add lights to the tree. Start with the bottom and work your way up, adding a few lights simultaneously. Distribute them evenly, and wrap the lights around each branch. This will give your tree a warm, twinkling effect.
3. Add Your Tree Topper
Now, it’s time to add the tree topper. This can be a star, an angel, or anything else you choose! Place the tree topper at the top and secure it with a small hook or wire. To make it even more special, you can wrap a beautiful ribbon around the base of the tree topper.
4. Start Adding Decorations
Whichever decorations you intend to use, the next step is adding them to your tree. If you’re using ornaments, hang them from different levels of the branches, so they look more natural. Icicles can also be hung from the tips of branches, and garland or tinsel can be draped around the tree.
Start by adding the heaviest ornaments from the tree inside, then move on to the smaller, lighter decorations. Be sure to stick with the same color scheme for a more cohesive look.
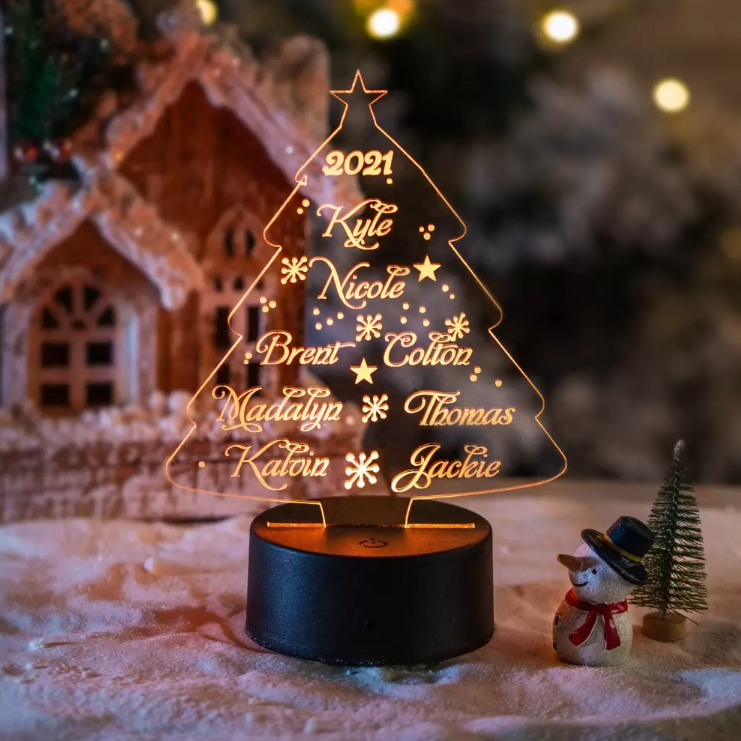
You may add the Christmas Tree Night Light LED Sign to the top of the Christmas tree for a more festive look. It has meaning of hope, love, joy, and peace.
5. Hang Your Key Baubles
These special ornaments represent your family, like a snowman ornament with each family member’s name on it. Hang these from the highest branches to signify their importance. For example, you can hang a snowman ornament for each family member.
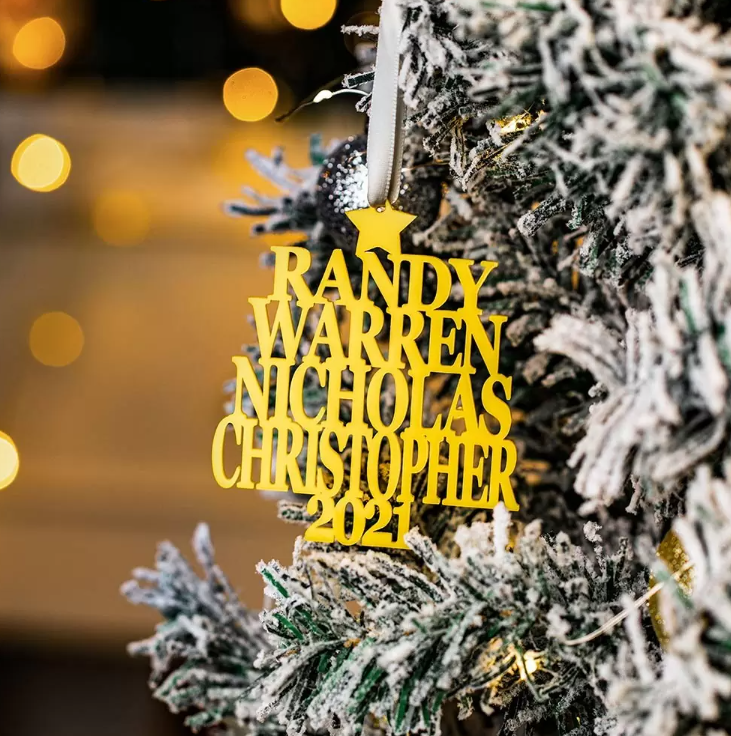
You may also hang a Family Name Christmas Ornament as it is personalized with your family members’ names and the year. It represents your family union and brings back sweet memories.
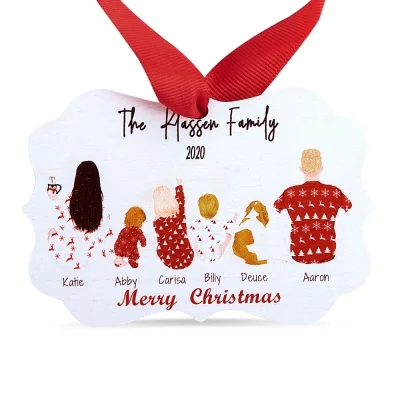
Another idea is to hang a Family Tree Christmas Ornament with photos of your family members. This is a great way to show off your family and celebrate the special bond that you share. Made of wood and metal, this ornament is durable and special.
6. Add Picks And Sprays
Fill the tree with sparkling picks and sprays, branches with faux-ice crystals, and other decorations like poinsettias. Spread these evenly across the tree so it looks full and festive.
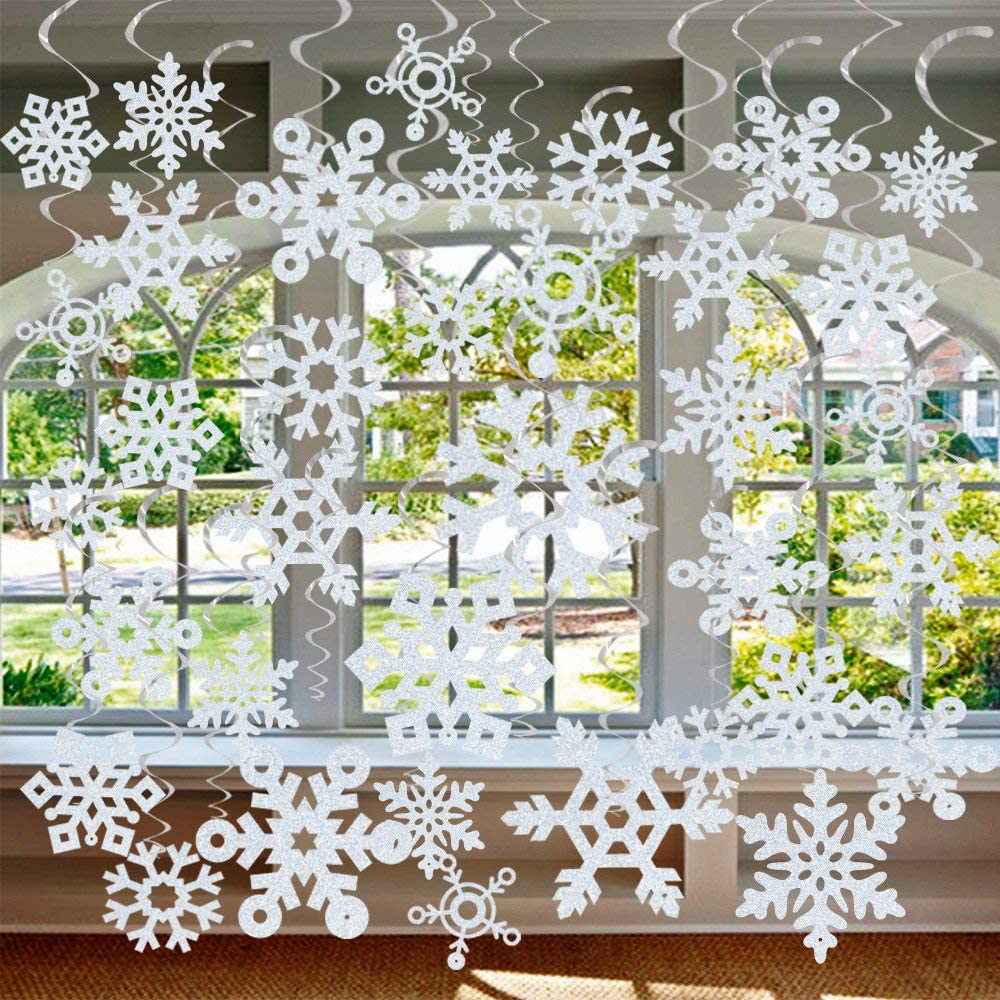
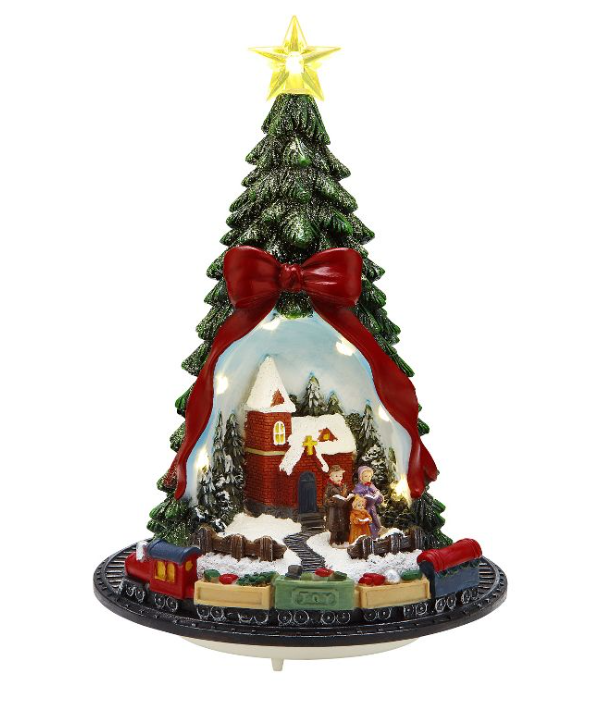
You may also try some of the new Christmas tree decorations. The Rattan Snowflake Garland is a great way to add extra sparkle and texture to your tree, while the Christmas Tree Scene Ornament is perfect for a winter wonderland look.
7. Showcase Those Extra-Special Ornaments
If you have a few extra-special ornaments you want to show off, now is the time to hang them. Add them in prominent places near the front of the tree and near lights so they can sparkle.
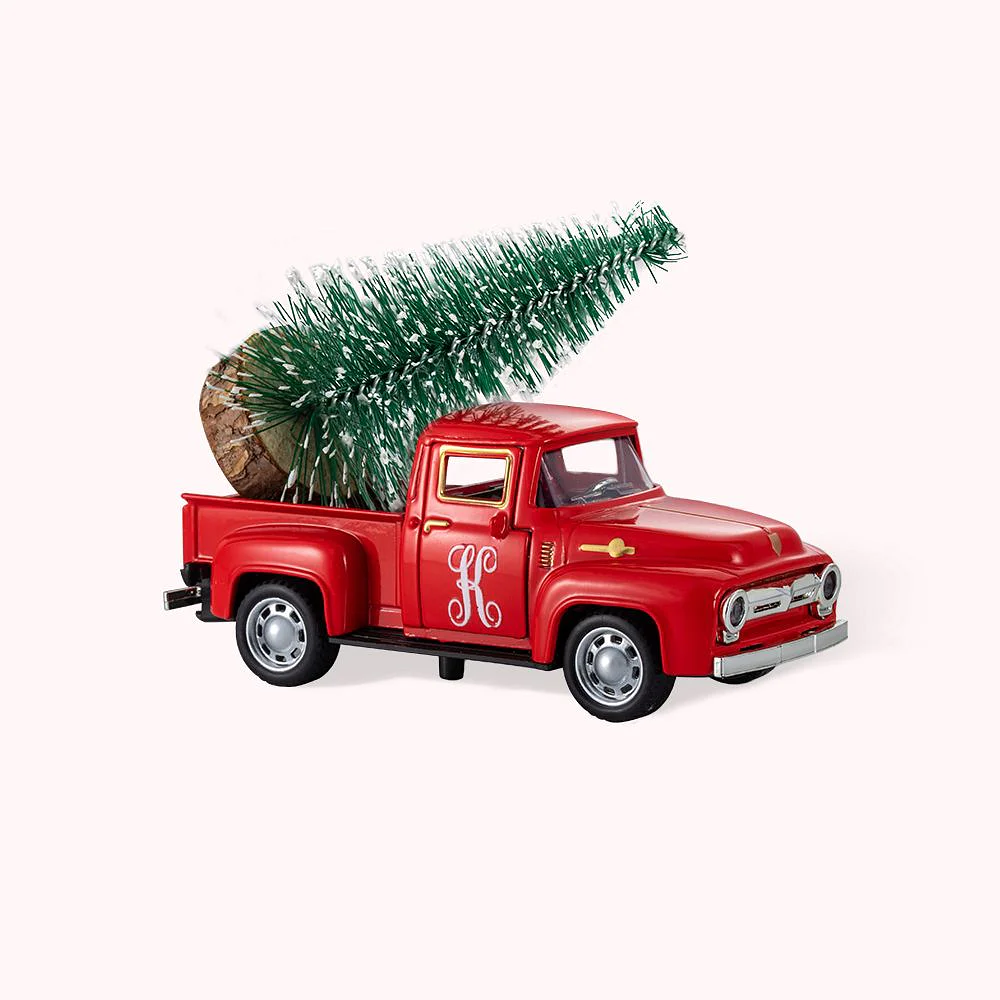
For example, you can hang the Personalized Vintage Pickup Truck with Christmas Tree to showcase a special memory. The ornament features a vintage truck with a pine tree in the back. It reminds you of when your dad would always cut a pine tree before Christmas, transport it home by truck, and dresses it as a Christmas tree.
8. Time For Finishing Touching Touches
The last step is to add some finishing touches. This can involve fluffing out the tree, adding a few more decorations, and tweaking things here and there. This will give your tree a polished, complete look.
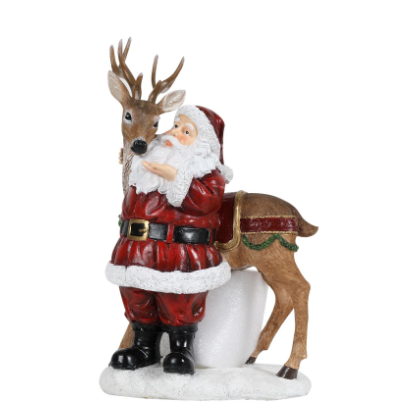
For example, you may add a Santa’s Reindeer Ornament to the tree. This is a perfect way to add cute festive cheer while ensuring your tree looks complete.
9. Choose Your Tree Skirt
Finally, it’s time to choose your tree skirt. A classic choice is a tartan plaid-print tree skirt, but many other options are available, including velvet and faux fur.
Choose a tree skirt that will suit your theme and look beautiful beneath your Christmas tree’s branches. The tree skirt helps to contain stray needles and will make your tree look more finished.
10. Pile Up The Presents
At this point, your tree is complete! Now you can pile up the presents beneath it and ensure they’re evenly spaced. Try arranging them in a starburst pattern for a modern and eye-catching look. This will make your tree look more festive and add to the holiday cheer.
Once you’re done, all left is to stand back and admire your tree.
More Tips on how to make your Christmas tree look good
If you want to go the extra mile and make your tree look even more amazing, here are some tips:
1. Add lights in a gradual manner
Instead of putting up all the lights at once, start with the bottom and work your way up. This will help create a more balanced and cohesive look. You can also use special LED light strands to make your tree look brighter and sparkly.
2. Use natural elements to decorate
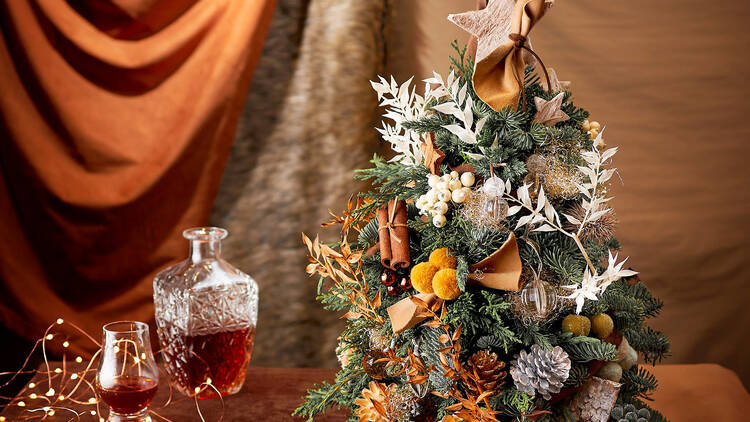
Natural elements such as pine cones, berries, or holly are a great way to give your tree a rustic look. They add texture and depth to the décor, so your tree looks more inviting and festive!
3. Add a pop of color
Adding ribbons and bows in different colors can add a fun touch to your tree. For example, add red and green ribbons to create a classic Christmas look. Or, try adding purple and blue for a more whimsical feel.
4. Choose the right size tree
When choosing a Christmas tree, make sure it fits in your space. Measure the room before you pick a tree, and use that measurement as a guide. This way, you can make sure your tree will fit perfectly!
5. Invest in quality lights
When it comes to lights, you want to invest in good quality ones. The better the quality of the lights, the brighter and more sparkly your tree will look. For example, LED lights are a great option as they are energy-efficient and long-lasting.
6. Don’t be afraid to go big
Feel free to go big with your tree if you have the space. A larger tree will make the room look more festive and inviting. Just make sure you have enough lights and decorations to fill it out!
7. Try a creative theme
Finally, don’t be afraid to get creative with your decorations. Try out different color schemes or pick a theme, such as a beach-inspired or nature-inspired one. This will help your tree stand out and make it even more memorable!
Conclusion
At the end of the day, decorating your Christmas tree is all about having fun and enjoying the holiday season. Whether you opt for a classic or creative look, the important thing is to have fun and make sure your tree looks as beautiful and festive as possible. Just follow the steps in this guide, and you’ll be able to create a stunning tree that will bring holiday cheer to your home. Happy decorating!